Get Crispy, Juicy Baked Chicken Tenders Without Frying
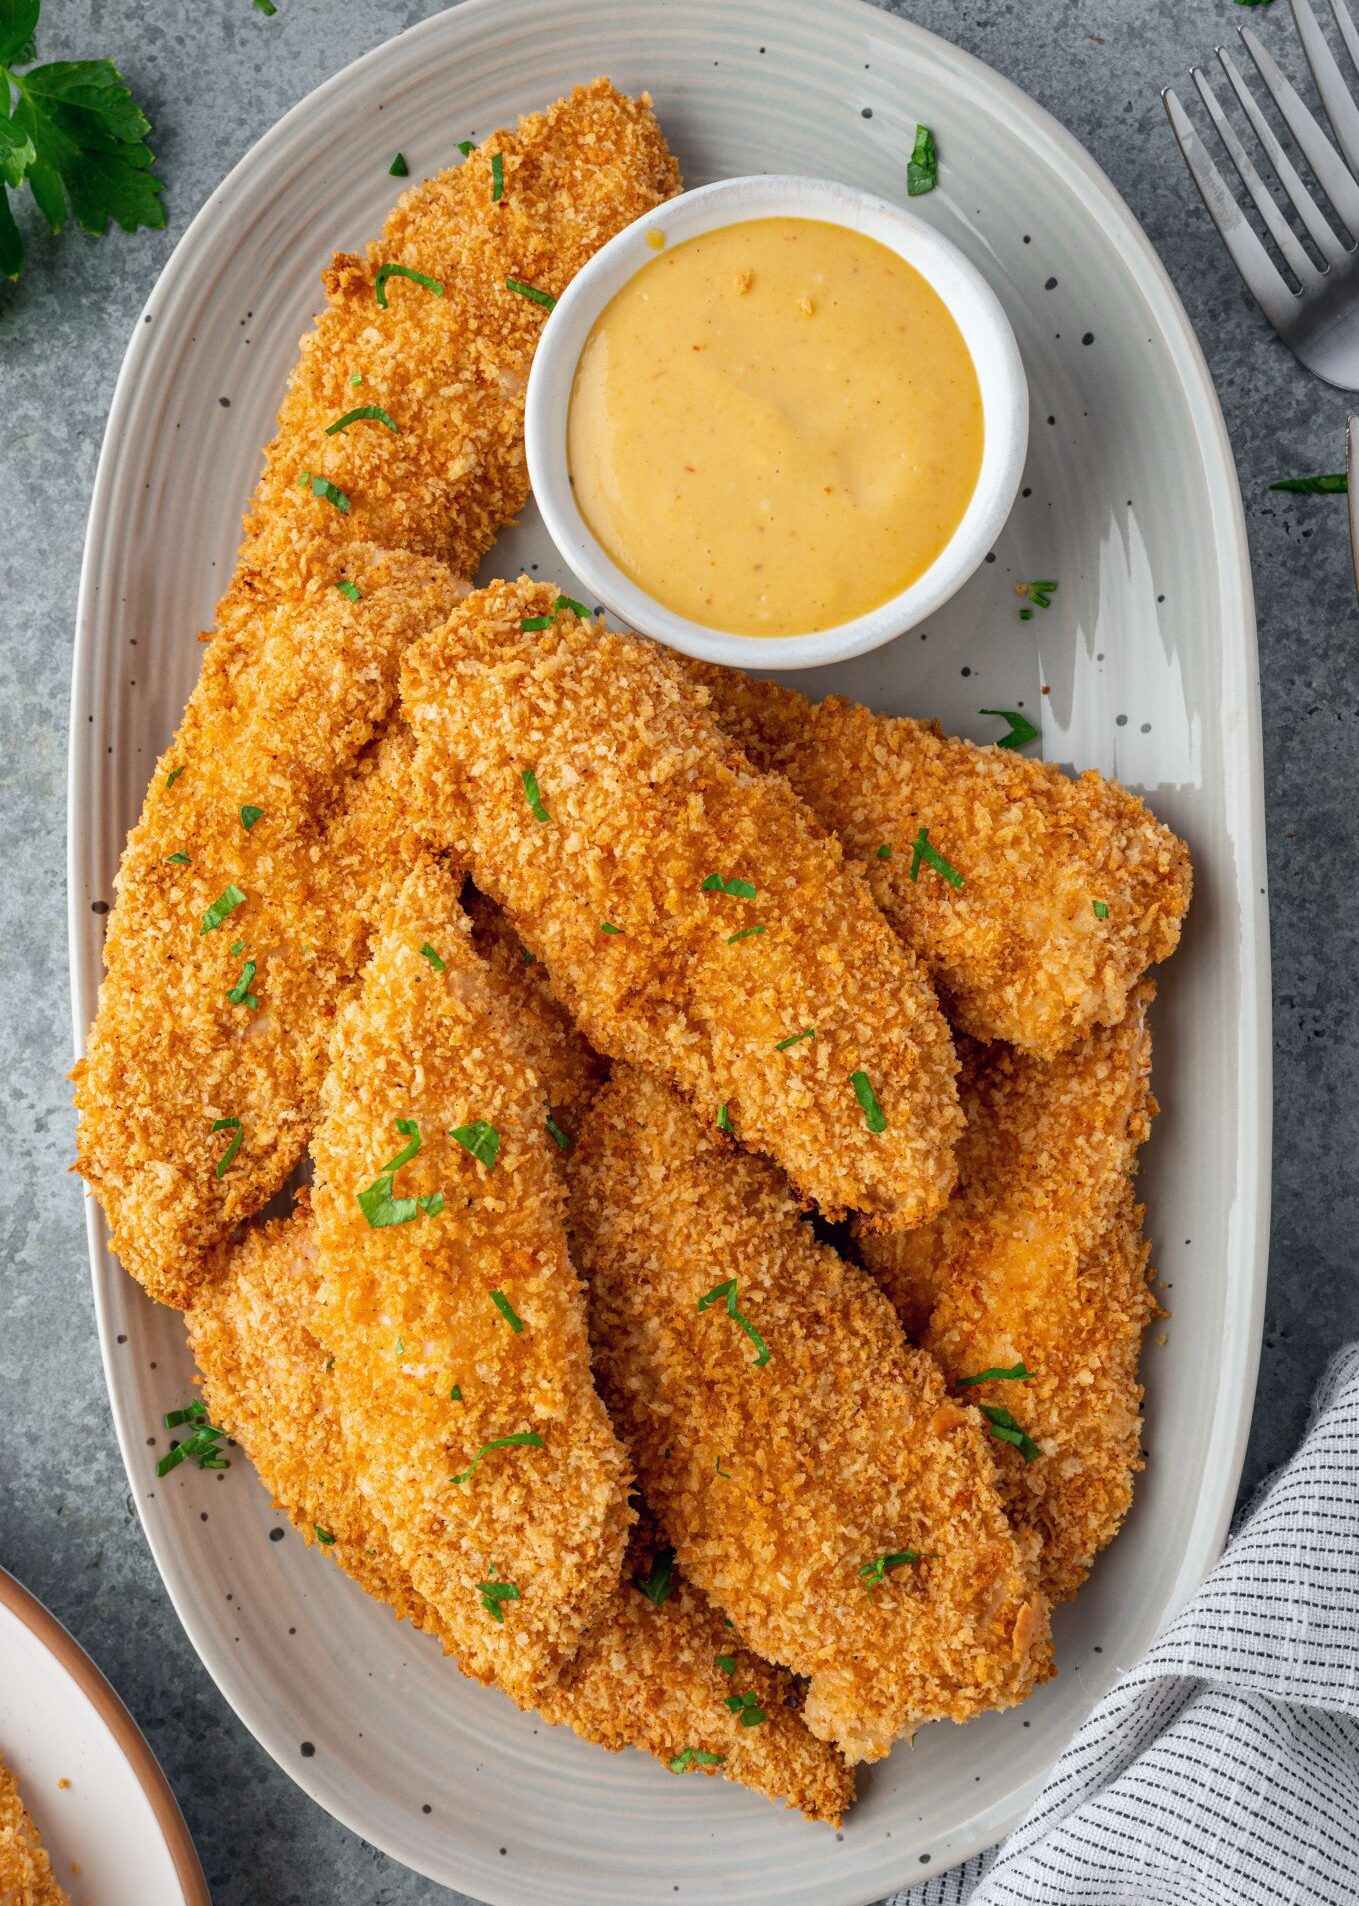
There's nothing quite like the irresistible crunch of a perfectly cooked chicken tender, followed by a burst of tender, juicy meat. For many, that iconic texture has long been synonymous with deep frying – and all the heavy oil, stovetop mess, and guilt that comes with it. But what if we told you that you could achieve that same shatteringly crisp exterior and succulent interior, all without a single drop of excess oil? Welcome to the world of truly amazing
baked chicken tenders, a culinary revelation that delivers all the nostalgic comfort food goodness you crave, in a healthier, easier, and just as delicious package.
These aren't just any oven-baked chicken strips. We're talking about tenders that boast a golden-brown, buttery panko crust that crackles with every bite, giving way to chicken so moist and flavorful, you'll wonder why you ever fried. Whether you're feeding a discerning toddler, a hungry teenager, or simply looking for a wholesome yet satisfying meal for yourself, these homemade tenders are guaranteed to become a new family favorite. Get ready to elevate your chicken game and discover the secrets to unlocking restaurant-quality results right from your own oven.
The Secret to Unbeatable Crispy, Juicy Baked Chicken Tenders
The magic behind these spectacular
baked chicken tenders lies in a few ingenious techniques that work in harmony to create a symphony of texture and flavor. It’s a process that goes beyond simply dipping chicken in breadcrumbs and baking it.
The Essential Batter: More Than Just a Binder
Before the breadcrumbs even enter the picture, the chicken takes a dip in a carefully crafted batter. This isn't just about making the coating stick; it's a vital flavor enhancer and moisture lock. A simple whisked egg serves as the primary binder, but the real heroes are the additions that elevate it:
*
Sour Cream: This unexpected ingredient is a game-changer. It adds incredible moisture and tenderness to the chicken, thanks to its rich fat content and slight acidity. It also imparts a subtle tang that complements the savory chicken beautifully.
*
Flour: Just a touch of all-purpose flour thickens the batter, creating a substantial base for the panko to cling to, ensuring a thick, satisfying crust.
*
Subtle Flavor Enhancers: A hint of Dijon mustard, a dash of hot sauce (don't worry, it's not for heat!), and a touch of honey are seamlessly blended into the batter. These ingredients are like culinary ninjas – you won't taste them outright, but they complexify the flavor profile, adding depth and balance that makes each bite utterly delicious. They round out the chicken's natural flavors without overpowering them.
This initial batter step is paramount to ensuring your chicken remains incredibly juicy throughout the baking process. To dive deeper into the science and art behind this crucial coating, explore our detailed guide:
Mastering Baked Chicken Tenders: Batter, Panko & Juiciness.
Panko Perfection: Why Pre-Toasting Makes All the Difference
Once the chicken is coated in its flavorful batter, it's time for the ultimate crispy layer: panko breadcrumbs. Regular breadcrumbs often fall flat, but panko, with its larger, flakier texture, is naturally superior for crispiness. However, we take it a step further to achieve unparalleled crunch:
*
Buttery Coating: The panko breadcrumbs are first tossed with melted butter. This infuses them with a rich, savory flavor and helps them brown beautifully.
*
Pre-Toasting: This is the secret weapon! The buttered panko is spread thinly on a baking sheet and toasted in the oven *before* coating the chicken. This ensures that the breadcrumbs are already golden and crunchy, guaranteeing maximum crispness when they go back in the oven with the chicken. It eliminates any chance of soggy breading and creates a "shatteringly crisp" texture that's truly addictive.
*
Parmesan Power: A sprinkle of grated Parmesan cheese mixed into the panko adds a layer of savory umami that is simply irresistible, enhancing the overall flavor profile. You truly can't beat this combination for ultimate crispiness and taste!
Step-by-Step Guide: Crafting Your Perfect Baked Tenders
Creating these culinary masterpieces is surprisingly straightforward. Here’s how to prepare your chicken for success:
Prepping Your Chicken for Success
Whether you use pre-cut chicken tenderloins or slice whole chicken breasts, a little prep goes a long way:
1.
Slice and Pound: If using chicken breasts, cut them lengthwise into 3-4 even strips. Cover each strip with plastic wrap and gently pound them with a meat tenderizer or the flat side of a mallet. This step is crucial; it not only tenderizes the meat but also ensures a uniform thickness, which promotes even cooking and prevents some parts from drying out while others finish.
2.
Season Simply: Lightly season both sides of your pounded chicken with salt and freshly ground black pepper. This basic seasoning forms the foundation of flavor.
3.
Marinate (Optional but Recommended): For an extra layer of flavor and tenderness, consider marinating your chicken in the prepared batter for at least 15 minutes, or up to 4 hours in the refrigerator. Even if you can't taste the individual components of the batter overtly, this brief marinade allows the chicken to absorb subtle flavors and moisture, resulting in a more flavorful and succulent tender. Trust the process!
The Breading Station Blueprint
Setting up an efficient breading station makes the process smooth and clean:
1.
Bowls Ready: Have three medium bowls ready. One for the seasoned chicken and batter, one for the pre-toasted, buttery panko-Parmesan mixture, and a clean plate or a wire rack for the breaded tenders.
2.
Coat Thoroughly: Working one piece at a time, ensure each chicken strip is fully coated in the batter, allowing any excess to drip off. Then, transfer it to the panko mixture.
3.
Press for Adhesion: Gently press the chicken into the panko, ensuring every surface is generously coated. This creates that thick, crispy crust. Don't be shy – make sure it's fully covered!
4.
Onto the Rack: Place the breaded tenders on a wire cooling rack set over a large, light-colored baking sheet. This setup is key for achieving all-around crispiness, as it allows air to circulate underneath the chicken. Avoid overcrowding the rack to ensure even cooking and browning.
Achieving Golden Perfection in the Oven
With your tenders prepped, it's time to let the oven do its magic:
1.
Preheat: Preheat your oven to 375°F (190°C). A properly preheated oven is essential for immediate crisping.
2.
Bake Until Golden: Bake for 18-20 minutes, or until the tenders are cooked through and boast a beautiful golden-brown color. The internal temperature of the thickest part of the chicken should reach 165°F (74°C). Avoid overcooking, as this is the enemy of juicy chicken!
3.
Serve Immediately: Remove from the oven and serve hot with your favorite dipping sauces.
Beyond the Basics: Tips for Next-Level Baked Chicken Tenders
While the core recipe is fantastic on its own, here are some insights and tips to make your
baked chicken tenders truly exceptional and versatile:
*
Dipping Sauce Extravaganza: While a classic homemade honey mustard sauce is always a winner, don't limit yourself! Experiment with creamy ranch, tangy BBQ, spicy sriracha mayo, sweet chili sauce, or even a zesty garlic aioli. Offer a variety for a fun experience.
*
Make It a Meal: These tenders are incredibly versatile. Serve them alongside a fresh salad, roasted vegetables, crispy oven fries, or even mashed potatoes. For a heartier option, use them in a wrap, as a topping for a loaded salad, or slice them for a delicious *Baked Chicken Parmesan Sub*.
*
Flavor Variations: Get creative with your panko! Mix in a teaspoon of garlic powder, onion powder, paprika, or even a pinch of cayenne pepper for a subtle kick. You can also experiment with different types of mustard in the batter for varying flavor profiles.
*
Batch Cooking & Freezing: These tenders are fantastic for meal prep! You can bread them and freeze them raw on a baking sheet before transferring to a freezer bag. Bake from frozen, adding a few extra minutes to the cooking time. Cooked tenders also reheat beautifully in an air fryer or oven for quick leftovers.
*
Healthier Choice: Opting for
baked chicken tenders significantly cuts down on the fat and calories associated with deep frying, without sacrificing flavor or satisfaction. It’s a smart, wholesome choice you can feel good about.
Why Baked Tenders Are a Family Favorite and a Smart Choice
The appeal of crispy oven-baked chicken tenders extends far beyond their delicious taste. They truly are a staple in homes for many compelling reasons:
*
Universal Appeal: From the pickiest eaters to the most seasoned palates, chicken tenders are a guaranteed hit. They bring a comforting, nostalgic joy that transcends age.
*
Healthier "Fried" Flavor: You get that iconic crunchy texture and golden-brown goodness using just a fraction of the oil compared to traditional frying, making them a much lighter option.
*
Quick Prep & Bake: With a simple breading station and a relatively short baking time, you can have these tenders ready for the oven in minutes, perfect for busy weeknights.
*
Better-Than-Store-Bought: Making your own means no mysterious fillers, excessive preservatives, or unhealthy oils. You control the ingredients, ensuring a fresh, wholesome product that tastes infinitely better than anything from a box or freezer aisle. To understand just how superior homemade truly is, explore why these are truly
Easy, Family-Favorite Baked Tenders: Better Than Store-Bought.
*
Minimal Cleanup: Using a parchment-lined baking sheet and a wire rack ensures your cleanup is a breeze, leaving you more time to enjoy your meal.
In essence, these
baked chicken tenders are a testament to the fact that you don't need to sacrifice flavor or texture for health and convenience. They are proof that restaurant-quality, comforting food can be made simply and deliciously at home.
Conclusion
Say goodbye to greasy fried chicken and hello to a new favorite that will revolutionize your weeknight dinners. These crispy, juicy
baked chicken tenders are a culinary triumph, offering all the satisfying crunch and tender meat you desire, without the fuss or guilt of deep frying. With their unique batter, buttery pre-toasted panko, and simple baking method, you're not just making chicken; you're crafting a healthier, incredibly flavorful, and universally loved meal. So, gather your ingredients, set up your breading station, and prepare to delight your family and friends with the best homemade baked chicken tenders they've ever tasted. Your taste buds—and your kitchen—will thank you!