Unlock the Secret to Perfect Baked Chicken Tenders: Crispy, Juicy, and Irresistibly Flavorful
Few comfort foods evoke such widespread delight as chicken tenders. But often, the quest for that ideal balance of a shatteringly crisp exterior and a tender, juicy interior leads us to deep-frying – a method many prefer to avoid for health or mess reasons. Fear not, culinary adventurers! Mastering
baked chicken tenders is not only achievable but can yield results so spectacular, you'll wonder why you ever considered a fryer. This comprehensive guide will delve into the critical elements: the magical batter, the power of properly prepared panko, and the techniques to guarantee supreme juiciness every single time. Get ready to elevate your homemade chicken tenders from good to truly gourmet.
The Science Behind the Crunch: Batter and Panko Perfection
The foundation of truly exceptional
baked chicken tenders lies in a dual-action coating system: a flavorful batter followed by a crispy panko crust. This isn't just about adherence; it's about building layers of taste and texture that contribute to the overall masterpiece.
Crafting the Ultimate Flavorful Batter
The batter acts as the crucial intermediary, creating a sticky surface for the panko while simultaneously infusing the chicken with moisture and subtle flavor. Skipping this step often results in dry chicken and breading that struggles to cling. Here's what goes into a stellar batter and why each ingredient plays a vital role:
- Whisked Egg: The Primary Binder
The egg is non-negotiable. Its protein structure creates an adhesive layer, ensuring the panko locks onto the chicken and doesn't shed during baking.
- Sour Cream: The Moisture & Tenderness Secret Weapon
This ingredient is a game-changer. The fat and acidity in sour cream tenderize the chicken, prevent dryness, and add a luxurious richness to the batter. It also helps create a thicker, more robust coating.
- All-Purpose Flour: The Thickening Agent
A touch of flour helps thicken the batter to the perfect consistency, allowing it to coat the chicken evenly without being too thin or gloppy. This creates a solid base for the panko.
- Subtle Flavor Enhancers: Dijon, Hot Sauce, and Honey
Don't be intimidated by these additions; their purpose isn't to make the tenders taste like mustard, hot sauce, or overtly sweet. Instead, they work synergistically to deepen the savory profile. Dijon adds a pungent, complex note, hot sauce (like a dash of Tabasco or Frank's RedHot) provides a barely perceptible zing that brightens other flavors, and a hint of honey balances the acidity while aiding in beautiful golden-brown caramelization during baking. Trust the process – these nuances make a significant difference.
This combination ensures the chicken remains moist and flavorful, even before the panko gets involved, proving that truly great
Get Crispy, Juicy Baked Chicken Tenders Without Frying is an art form.
The Power-Up of Buttery, Toasted Panko
While traditional breadcrumbs work, panko breadcrumbs are superior for achieving that signature crunch. Their larger, flakier structure creates more surface area for crisping. But to truly maximize their potential, a pre-toasting step is essential:
- Melted Butter: The Golden Accelerator
Tossing panko with melted butter before toasting coats each flake, contributing incredible flavor and helping them achieve a uniformly golden, extra-crispy texture in the oven. It's the key to that rich, "fried" taste without the actual frying.
- Parmesan Cheese: The Umami Bomb
Adding grated Parmesan to your buttered panko is a stroke of genius. It introduces a powerful umami punch and savory depth that takes your breading to another level. As it toasts, the Parmesan crisps up, adding another layer of irresistible flavor.
- Pre-Toasting: The Crunch Guarantee
Spreading the buttered, Parm-laced panko on a baking sheet and toasting it briefly in the oven *before* coating the chicken ensures it's already halfway to crispy perfection. This step prevents soggy breading and guarantees a superior crunch that holds up through the final bake.
Achieving Unrivaled Juiciness: Beyond the Breading
Crispy breading is only half the battle; the chicken inside must be succulent and tender. Several steps contribute to this crucial element.
Optimal Chicken Preparation for Tenderness
The journey to juicy tenders begins with how you handle the chicken itself. While chicken tenderloins are a convenient option, using boneless, skinless chicken breasts (sliced lengthwise into 3-4 even strips) allows for better control over thickness and even cooking.
- Pounding for Uniformity and Tenderness: After slicing, place chicken strips between two sheets of plastic wrap and gently pound them to an even thickness (around ½ inch). This not only tenderizes the meat by breaking down muscle fibers but also ensures every piece cooks uniformly, preventing thinner ends from drying out while thicker parts finish cooking.
- The Marinade Advantage: A Flavorful Moisture Boost: While the batter significantly aids in juiciness, a brief marinade can elevate the experience further. A simple marinade (often containing ingredients like a splash of milk or buttermilk, a touch of acid like lemon juice or vinegar, and seasonings) can work wonders. Even a quick 15-minute soak, or up to 4 hours in the refrigerator, can subtly tenderize the chicken and imbue it with a deeper, more rounded flavor profile without being overtly "marinaded" in taste. It's a secret weapon for incredibly moist Easy, Family-Favorite Baked Tenders: Better Than Store-Bought.
Smart Baking Techniques for Succulent Results
The cooking environment plays a vital role in maintaining juiciness.
- The Wire Rack Method: Airflow for All-Around Crispiness: Crucially, bake your breaded tenders on a wire rack set over a baking sheet. This allows hot air to circulate completely around each tender, ensuring that coveted crispy texture on all sides, preventing a soggy bottom, and promoting even cooking.
- Don't Overcook: The Enemy of Juiciness: The biggest culprit for dry chicken is overcooking. Baked chicken tenders typically need 18-20 minutes at 375°F (190°C), but cooking times can vary based on thickness. Use a meat thermometer to ensure the internal temperature reaches 165°F (74°C) at its thickest part. Remove them promptly once they hit this mark. A few minutes of resting after baking also helps redistribute juices.
Your Step-by-Step Guide to the Best Baked Chicken Tenders
Let's consolidate these principles into an actionable plan for making your own master-level
baked chicken tenders.
- Prepare Your Chicken: Slice chicken breasts into even strips and gently pound to ½-inch thickness. Season lightly with salt and pepper. If using a marinade, let them soak for 15 minutes to 4 hours.
- Toast the Panko: In a bowl, toss panko breadcrumbs with melted butter and grated Parmesan cheese. Spread evenly on a light-colored baking sheet and toast in a preheated 375°F (190°C) oven for 5-6 minutes until golden and fragrant. Transfer back to the bowl.
- Whisk the Batter: In a separate medium bowl, combine whisked egg, sour cream, flour, Dijon mustard, hot sauce, and honey. Whisk until smooth.
- Set Up Your Breading Station: Arrange your workstation with the chicken, then the batter, then the toasted panko, and finally, a wire rack placed over a clean baking sheet.
- Coat the Tenders: Dip each chicken strip first into the batter, ensuring it's fully coated, letting any excess drip off. Then, transfer directly to the toasted panko, pressing gently to adhere the crumbs thoroughly on all sides. Place the coated tender on the wire rack.
- Bake to Perfection: Bake in the preheated 375°F (190°C) oven for 18-20 minutes, or until the internal temperature reaches 165°F (74°C) and the breading is golden and crisp.
- Rest and Serve: Allow the tenders to rest for a few minutes before serving to lock in the juices.
Serving Suggestions and Creative Twists
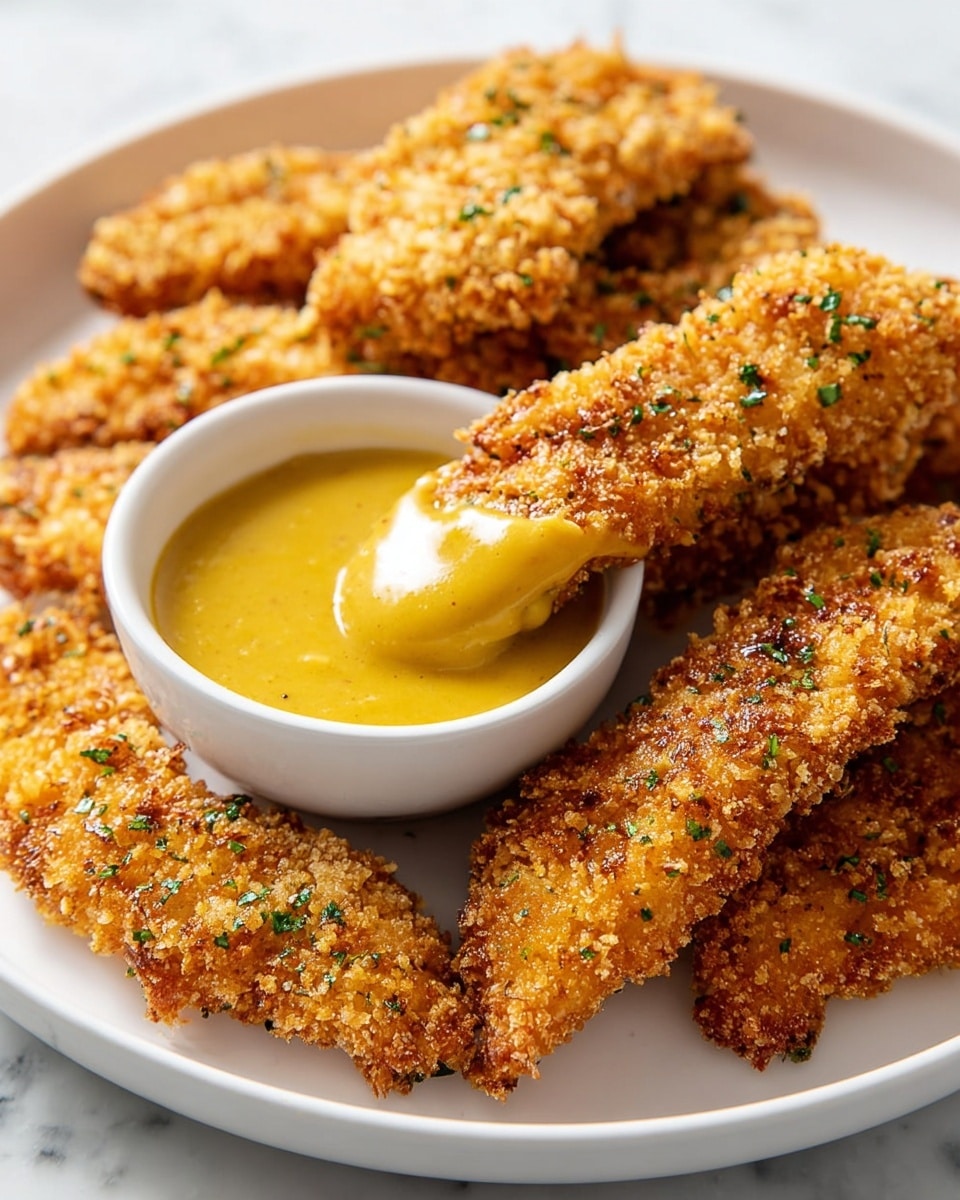
These perfectly crispy and juicy
baked chicken tenders are incredibly versatile. While a classic honey mustard sauce is a perennial favorite, don't limit yourself! They're fantastic with ranch, BBQ sauce, buffalo sauce, or even a zesty lemon-herb aioli. Beyond dipping, consider these creative meal ideas:
- Chicken Parmesan Subs: Pile them into toasted hoagie rolls with marinara sauce and melted mozzarella.
- Deconstructed Salad Toppers: Slice them over a fresh Caesar salad or a vibrant mixed green salad for a hearty meal.
- Quick Wraps or Tacos: Shred them and stuff into tortillas with your favorite toppings.
- Family Dinner Staple: Serve alongside mac and cheese, roasted vegetables, or sweet potato fries for a complete, crowd-pleasing meal.
For busy weeknights, these tenders are also excellent for batch cooking. Bake a larger quantity, let them cool completely, then freeze on a baking sheet before transferring to a freezer-safe bag. Reheat in the oven or air fryer for quick, delicious meals.
Conclusion
Mastering
baked chicken tenders is more than just following a recipe; it's understanding the interplay of ingredients and techniques that transform simple chicken into a culinary triumph. By focusing on a carefully crafted batter, the superior crisp of pre-toasted, buttery panko, and thoughtful chicken preparation with precise baking, you can achieve restaurant-quality tenders that are juicy on the inside, wonderfully crispy on the outside, and packed with flavor. Say goodbye to greasy deep-fried versions and hello to a healthier, equally delicious family favorite. Your kitchen, and your taste buds, will thank you.